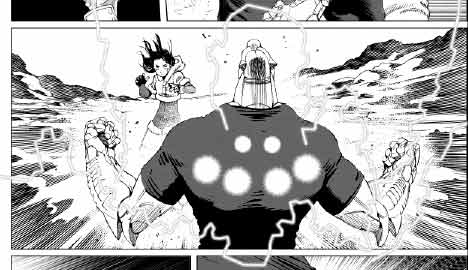
This chapter introduces some methods to create special effects, such as lightning and sparks.
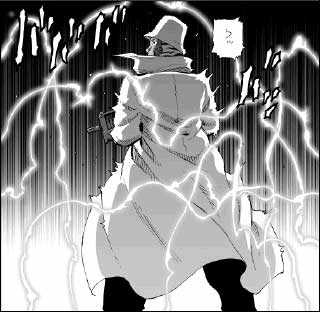
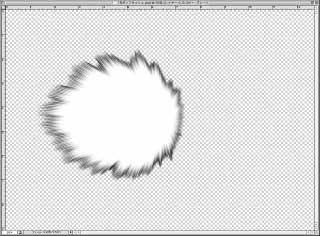
First of all, there is a technique to create effects based on hand-drawn materials. I used it for electric discharge (the example above), expression of the aura in "Aqua Knight", etc.
|
ïHand-draw the form of electric discharge with black ink on another paper, and scan it (if they have simple forms, you can draw them on a layer directly in Photoshop). Copy and paste this to a work file and change the portion of the line drawing into the selected area. After that, make them with the same method as explained in "Basic technique 3: Backlight-tone," such as by thickening the selected area. It's just an easy application of Backlight-tone, so there's no need to detail here.
|
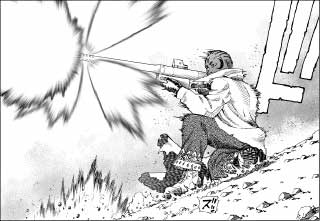
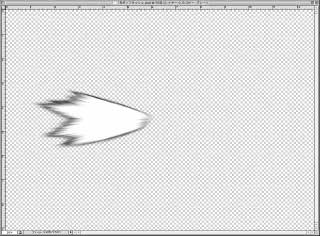
The next method is for "gun flashes." Besides the gun flashes, I use it for various things, such as plasma jet. It is easy to make them, too.
|
Draw the original material for gun flashes on another paper. As a note, in order to make it easy to set the selected area, draw them with outline not breaking off. By drawing spike lines properly, you can make the next effect better. Scan the drawing.
|
Paste the material drawing on a new document with gray scale, and layerize it. Select the background with the auto select tool, then press the delete key to delete it, and make it transparent. Set the position as the central point of the flash and measure it with ruler etc., then go to "image" menu -> "Canvas Size" to adjust the size so that the central point of the flash matches to the central point of the picture. Then, go to "Filter" menu -> "Blur" -> "Radial Blur" to zoom moderately.
|
Paste the picture of the muzzle break's flashes on the same document, set the position of the central point, make the background transparent similarly, and apply the zoom blur.
|
Paste the material on a work file and adjust positions and angles with "Edit" menu -> "Free Transform." In this example, the muzzle break's flashes were duplicated and rotated. Now it's all done. When the tone of the outline part is too deep so that it is likely to lost details after printing, adjust by level adjusting etc.
|
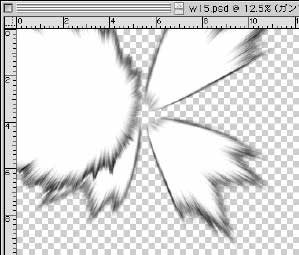
As another method, I'll show you how to express lightning using paths. The method is used to make lightning with relatively uniform width like the example above.
|
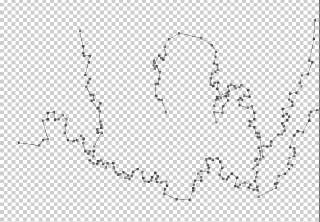
Using the pen tool in Photoshop, draw lines of lightning with seeing the underlying picture. In the above figure, the layers other than the path are hidden so that it might be obvious. In the case of lightning running out of panels, the tip is to boldly draw them to protrude from the panel size.
You can check the drawn path by clicking the "Paths" tab of the Layers palette to show it up in front. At first, the path is given the name of "Work Path", but if you leave it as it is, making a new path replace the old one and it disappears. If you don't want to lose it, select "Save Path" from the menu shown by clicking the upper right triangle to save it.
|
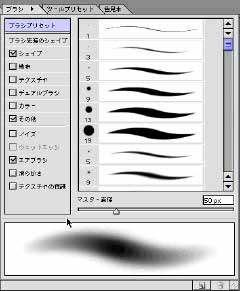
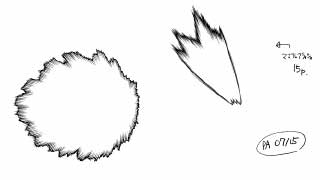
Select the Brush tool. Adjust the diameter in order to match the width of the lightning's flare portion. In the example, it is 50 pixels. Change the blend mode to "Dissolve."
|
Set the foreground color to 20 to 40% gray as you like. In the example, it is 20% gray. Create a new layer. Check that the lightning path is selected and click the upper right triangle of the path palette to show the menu, then choose "Stroke Path..." there. Select the "Brush" for the tool in the pop-up dialog as shown in the above figure. Selecting "Simulate Pressure" add an effect that the both ends of the path go narrower. Click "OK," and the dissolve brush will be applied along with the path on a new layer.
|
Next, draw the highlight portion within the lightning. Set the foreground color to 100% white. If necessary, create a new layer for the highlight. Choose the Pencil tool. Adjust the diameter in order to match the width of the lightning's highlight portion. In the example, it is 15 pixels. Similarly, choose "Stroke Path..." with the lightning path selected, change the tool in the dialog to "Pencil tool" and click "OK." Highlights are added along with the paths.
|
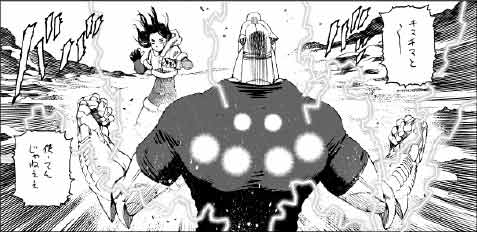
The above figure shows the state just after drawing the lightning. Delete the portions protruded from the panel to complete it.
In addition to this, you can use paths for painting out or setting the selected areas, and it's very useful for setting the selected areas of smooth curve, which is difficult to draw by hand.
By Yukito Kishiro
|
