|
This chapter introduces the way of capturing analog material and utilizing for digital finishing.
Many of analog techniques that have been handed down from old times are difficult to reproduce only within software on computers. For such techniques, it is quicker and more effective to make some effects on paper and to capture them with a scanner rather than to struggle to create them with filters or others.
First, let me show you the way of digitizing an analog technique "patting."
Patting is a technique to stamp with an ink-saturated pom-pon, which is made of cloth covering a core (tissue paper ball) as shown in the above figure. Less fluffy and coarser material such as cotton is suitable for this cloth. Using this pom-pon to stamp a pattern on a sheet of paper and scanning it by 600 dpi and 2 gradations make the image below.
Then, save it as a brush pattern in PhotoShop.
|
Select "Edit" menu -> "Define Brush". Name the image as "patting01" or something and save it. In Brush (Pencil) Tool, you can see the patting image that has just created as a brush pattern now. Open the Brush Palette and select "Brush Tip Shape." Move the slider of "Spacing" to the right and make each pattern appear independently one by one.
OK now.
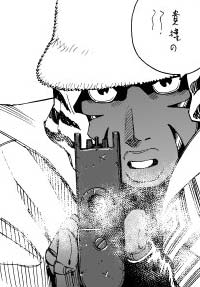
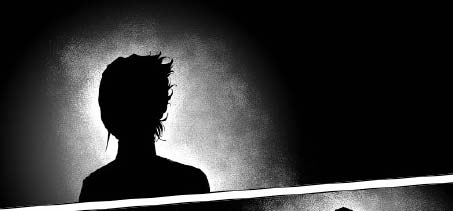
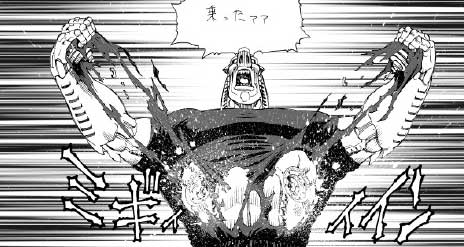
At the example above, smoke from the muzzle of the gun was expressed by the patting of 100% white.
|
As an application, check "Other Dynamics" in the Brush Palette and select "Pen Pressure" control at "Opacity Jitter", then you can change ink density according to brush pressure and express tasteful tones that you can't create with analog techniques.
When you change density, creating it with Quick Mask mode is convenient because it's easy to revise.
The gradation was applied on the selected area, which had been created with density-changed patting. When changing density, apply a considerably dark color, or the effect won't show up.
That's all about making a patting brush. Well, I feel the instruction above alone is too short, so now I'll introduce another effect that takes advantage of analogue material.
|
In analog techniques, this one is called "spattering" or "splashing." A brush containing ink or white (a correction fluid) is breath-blown strongly or struck against an edge of the ink bottle, which creates a splash. It is often used for blood splashes. The technique can produce a dynamic effect easily, but you can't do over on analog manuscripts, which means it's quite a gamble. Moreover, if you blow breaths strongly again and again, you may get a risk of having oxygen deficiency and fainting. But once capturing it digitally, you can freely revise, and you don't have to worry about fainting because of oxygen deficiency as well.
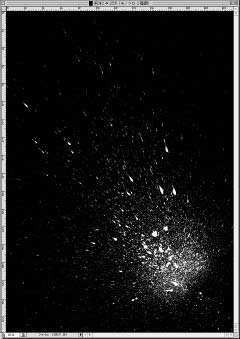
At first, with the analog technique, splash ink and create the effect on a sheet of paper. Try several times, and when you get a satisfying one, scan it. I blew black ink on a white paper and scanned it, then went to "Image" menu ->"Adjustments" -> "Invert" to get the negative image, which is shown above. In my work, I use white splash more frequently rather than blood splash, so I save it in this way.
|
Copy this, choose a panel to apply splash to, and paste on the line drawing layer.
Just after pasting, the panel looks like this.
Set layer blend mode to "Screen."
|
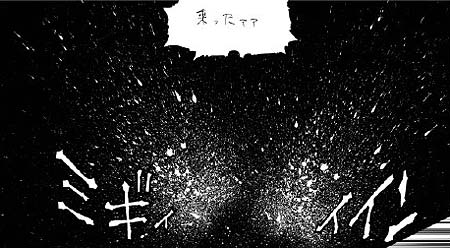
Black areas become transparent and the lower drawing appears. When editing, go to "Image" -> "Duplicate", or "Edit" -> "Free Transform" to rotate. In order to sharpen the printed image, go to "image" menu -> "Adjustments" -> "Threshold" and carry out to finish.
For the present, I've decided to end the description of basic techniques at this time. I'm going to explain somewhat advanced applied techniques from next time.
By Yukito Kishiro
|
