I want concretely to explain various effects in digital finish of the Manga since this time.
In the 2nd of the feature, let's introduce the method of forming the parallel speed line only with the basic function of Photoshop.
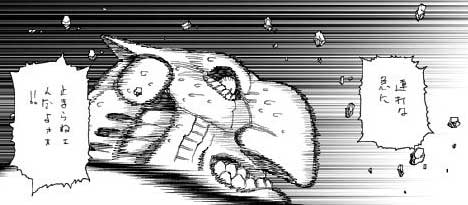
It explains the production of the effect like the background of the image above.
It can variously use if one basic image is preserved making it and is convenient.
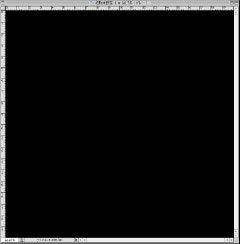
In the beginning, the new document of the following conditions is made in the gray scale mode. It is a resolution of 150dpi by 20*20 cm (centimeters).
The speed line of the completion roughens by the resolution low, too. You must adjust it by the favor.
You may think 150dpi to be the most detailed value. Even if the resolution is set from this high, it is not so effective.
All aspects are painted in 100% black.
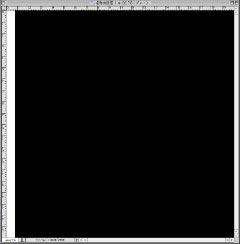
The left end is enclosed with the rectangular selection tool by about one centimeter in width. It is painted in 0% white. Please do not forget to release the range of the selection.
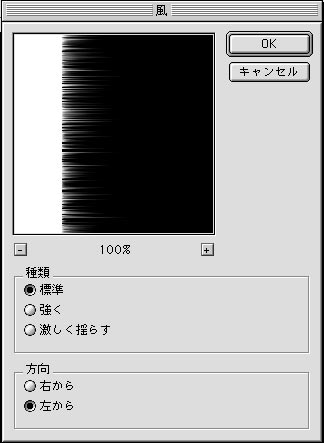
It works by the following procedure. The menu of "Filter" - "Expression technique" - "Wind" The dialog box is displayed and sets like the figure above.
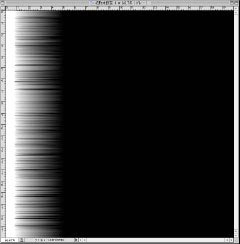
It applies "Wind", five times or six times.
The application of the surplus "Wind" effect loses a contrast. Keep moderate.
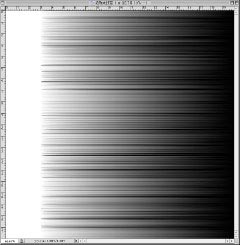
The part where "Wind" is caused is selected with a rectangular tool.
The menu of "Edit" - "Free transformation" is choosing. The right side of the bounding box is prolonged to a full screen by using this, and it fixes it. The range of the selection is released.
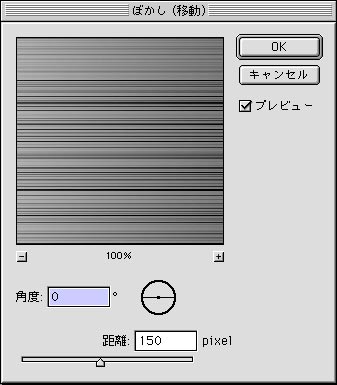
The menu of "Filter" - "Shadeing off" - "Shadeing off (move)" is choosing.
The angle is adjusted to 0 degrees, and the given value is put in the distance. The boundary part of a white part and the wind is made to be become familiar.
The black paint part and the white paint part disappear when shadeing it off too much.
You should leave the black paint part and the white paint part a little for the application in the future.
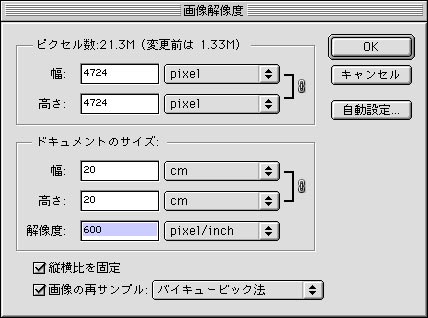
Because the image is too small the way things are going, it expands.
The menu of "Image" - "Image resolution" is choosing.
Checking "Re-Sampling of the image" confirms that it is. The resolution is adjusted to 600.
"OK" is pushed.
This means the image of 150dpi by 20*20 cm was converted into the image of 600dpi by 20*20 cm. It makes to the area and it will have expanded to 16 times. It will take time according to the ability of PC.
It is completion for the time being by this.
The expansion noise might stand out after changing the resolution when the document is made from a low resolution first. At that time, let's apply the movement shadeing off a little.
Time is expected to be taken for processing when the image grows.
Then, we will recommend the appearance to apply by about ten pixels and to be seen.
It preserves it in a specified folder applying the name "Parallel lines 1" to the image made thus.
It works as follows when using it for the manuscript of the Manga.
The menu of "Range of the selection" - "Everything is selected" is choosing and copying.
And, menu of "Edit" - "It is a paste within the range of the selection" is done to the place in which it enclosed it within the range of the selection of the background etc.
Then, the image (in this case, "Parallel lines 1. ") that does the paste is generated as a new layer. The layer face automatically hid excluding the range of the selection is made up at the same time.
You freely move, can edit, and adjust to match it to the picture well.
Afterwards, menu of "Layer" - "Layer mask is deleted" - "Application" is selected.
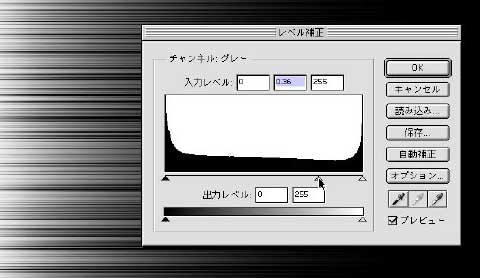
Various expressions can be put out even in one speed line drawing image if it adjusts it by menu of "Image" - "Tone correction" - "Level correction".
Moreover, slight Perth can be put out by menu of "Edit" - "Transformation" - "Perspective".
If it puts on the line drawing layer and the screen is synthesized, it is also possible to use it to express light.
If the layer mask is made to function, it is possible to change later.
However, I am unpleasant in swell of the capacity of the file. Therefore, it integrates it into the gray tone layer.
When the image has overflowed greatly besides the screen, data outside the screen seems to remain. With this, the size of the file is uselessly occupied. This is not displayed on the screen by merely integrating it. Then, if the data of the outside of the screen is deleted by the following work procedures, it might be good.
The menu of "Range of the selection" - "Everything is selected" and the menu of "Image" - "Clipping".
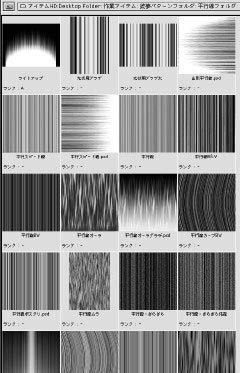
It is figure where the parallel lines kind that I had made was displayed by a file browser of Photoshop7.0. The parallel lines of various variations were able to have been done while it had serialized it for years.
Next time, it explains the method of making "Concentrated line" based on the parallel lines image made this time.
By Yukito Kishiro
|
